Camera Settings
The Camera Settings options for digiKam are set from .
Setup a Device
The Devices tab of the camera settings view displays a list of the currently supported cameras.
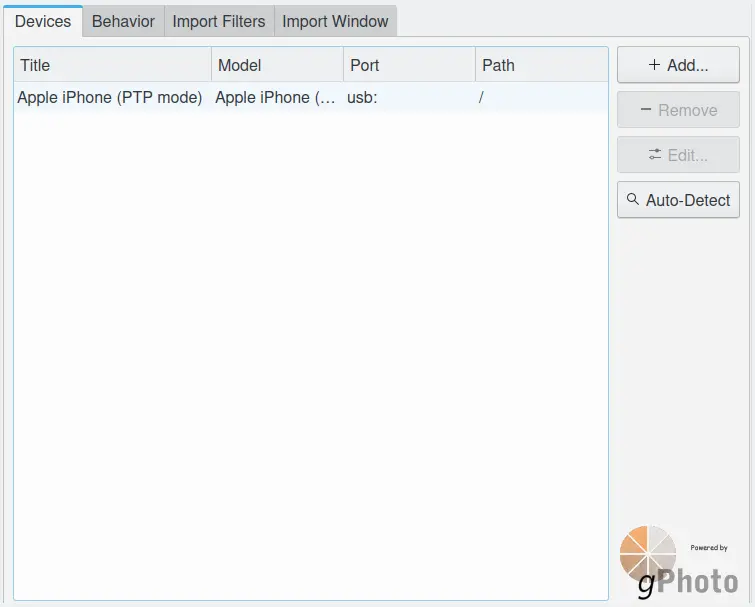
The digiKam Camera Configuration Panel with the gPhoto View
- There are four buttons on the right:
Add… brings up the camera configuration dialog to add a new camera.
Remove removes the selected camera from the list.
Edit… brings up the camera configuration dialog to edit the selected camera.
Auto-Detect tries to identify the camera connected to your computer (make sure that the camera is connected properly to the computer, turned on, and set to the image display mode).
The camera configuration dialog is used to add or edit the characteristics of a camera.
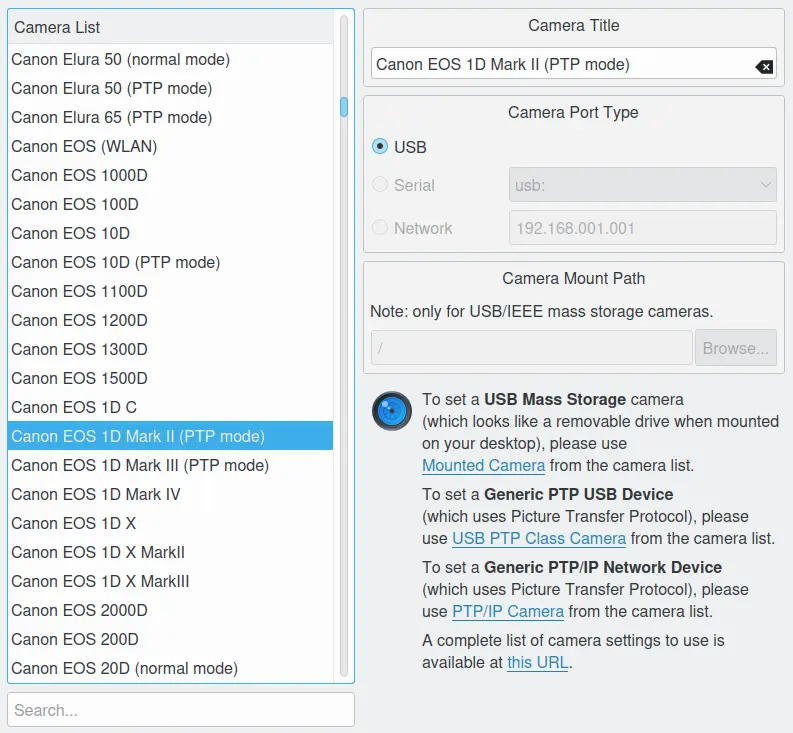
Dialog to Add a Camera Device Using gPhoto Drivers
- Clicking on a camera in the list from the left will display the supported ports which you can then select. digiKam currently supports Serial, USB, Network, and Mass Storage ports. If there is only one supported port, it will be automatically selected. If you cannot find your camera on the list, you can try to select one of three options in the camera list:
Mounted Camera specifies the mounted camera is a generic Mass Storage device.
USB PTP Class Camera specifies the camera uses the Picture Transfer Protocol over USB.
PTP/IP Class Camera specifies the camera uses the Picture Transfer Protocol over IP.
At the very bottom is where you set the path for a USB or FireWire (IEEE-1394 or i-link) Mass Storage camera. This box becomes active once you select USB or FireWire Mass Storage camera in the camera list. You need to enter the path where you mount the camera, usually /mnt/camera or /mnt/removable.
To be able to use your digital camera with digiKam, connect the camera to your computer, switch the camera to the image display mode and turn it on.
Try and see if digiKam can auto-detect the camera; if not, you can set the camera model and port manually. Once you have the camera setup, go to the Cameras menu in the main interface and you will see the camera listed in the menu.
Note
You can choose any title you like for the camera in the setup and this title will be used in the main window Cameras menu. If you have more than one camera, you can add them through this setup interface.
Customize the Behavior
The Behavior tab displays options for customizing how digiKam works with your camera. These options include one whether to: read metadata from the camera, render high-quality thumbnails, or use a default target album to download items. Options are also available on how digiKam deals with already existing files during downloads.
Important
The use file metadata and high-quality thumbnail options can slow down the connection to the camera. When enabled, digiKam will populate the icon-view with metadata read from the camera while scanning items from the device.
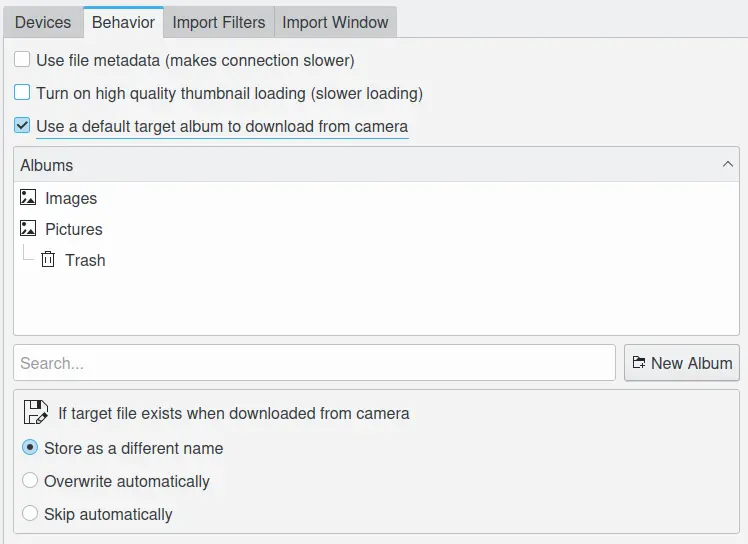
The digiKam Camera Configuration Panel with the Behavior View
Import Filters
The Import Filters tab displays options to customize what files filters should be applied to during import. Files are specified by either mime type, a file name filter, or a path filter. There is also an option to show only new files. The options also include lists of filename patterns and file extensions that should be ignored while downloading.

The digiKam Camera Configuration Panel with the Import Filters View
Customize Import Interface
The Import Window tab displays options to customize the information displayed in the icon-view, the behavior of previews, and the default UI elements displayed in full-screen mode.
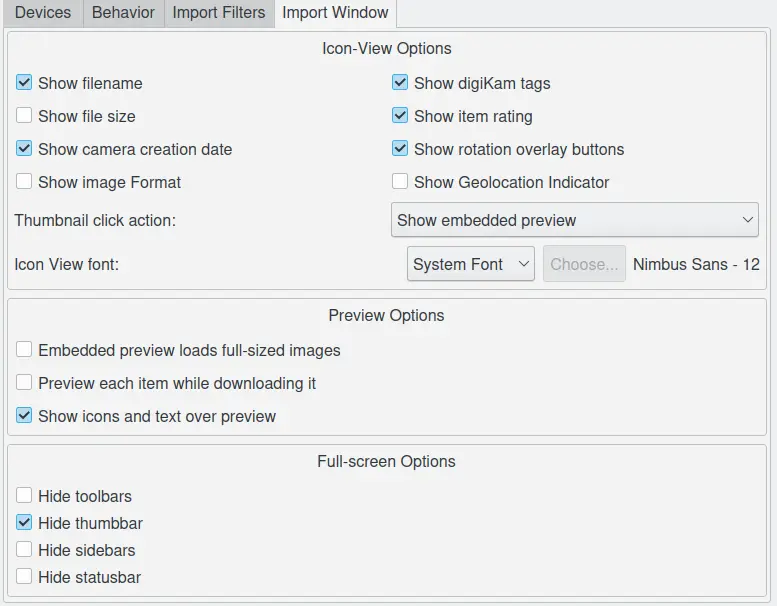
The digiKam Camera Configuration Panel with the Import Window View