Exposure Blending
Independentemente de quão boa é a sua câmara, tirar uma foto com boa exposição de uma cena com alto contraste, como um pássaro preto na neve, poderá ser realmente complicado. Mesmo que mude para o modo manual e ajuste as definições de exposição, há ainda o risco de que termine com uma fotografia que contém áreas sub- ou sobre-expostas. Uma forma de resolver este problemas é usar a Mistura da Exposição do digiKam. Esta técnica envolve tirar várias fotografias da mesma cena ou assunto com diferentes exposições (delimitação) e depois misturar todas essas imagens numa foto perfeitamente exposta.
While exposure blending sounds simple in theory, achieving usable results can be a rather laborious and time-consuming process. Fortunately, digiKam can do the hardest part of the job for you. The exposure blending tool relies on the Hugin command line tools for processing and fusing photos, so you must install Hugin on your machine beforehand.
From Icon-View, select the photos you want to blend, and choose , or click on the Blend Stacked Images icon from the Tools tab in the Right Sidebar.
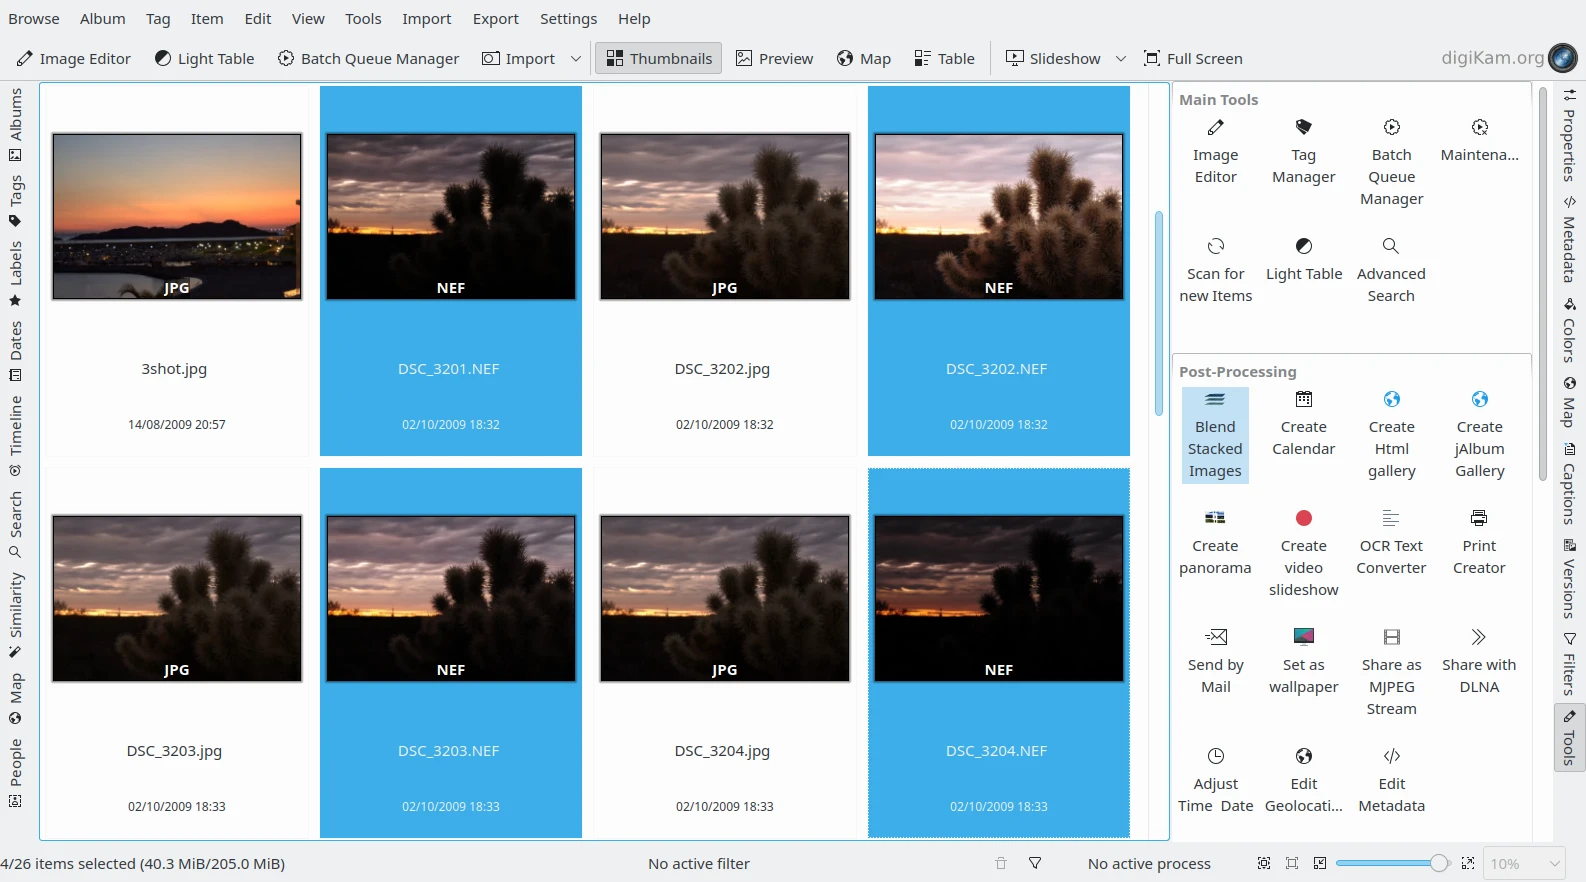
Os Ficheiro NEF Delimitados, Seleccionados na Área de Ícones
Isto abre o assistente de Mistura da Exposição, que o conduz por todo o processo.
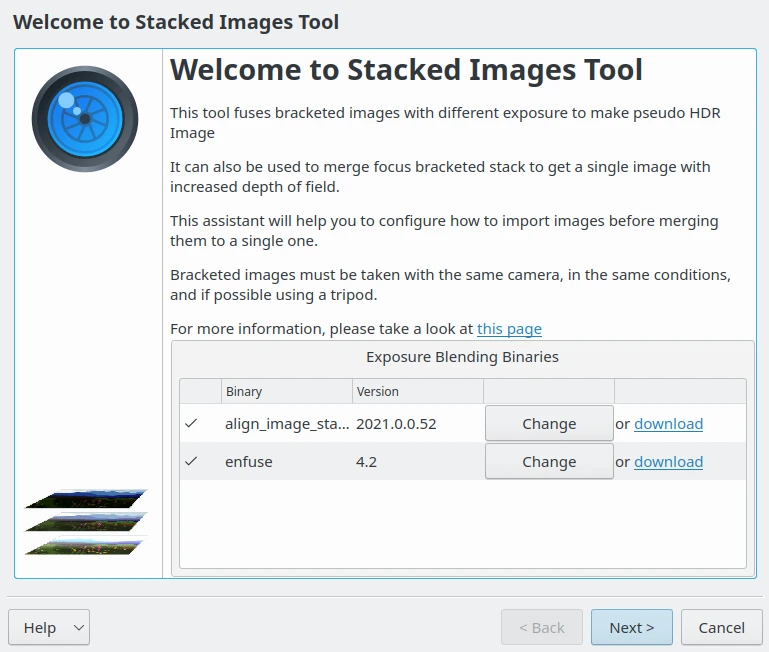
O Assistente de Mistura da Exposição com a Detecção dos Componentes de Hugin
In the Set Bracketed Images window, add other photos if needed, and remove and rearrange the photos that are already in the list. Then hit the Next button to move to the next step.
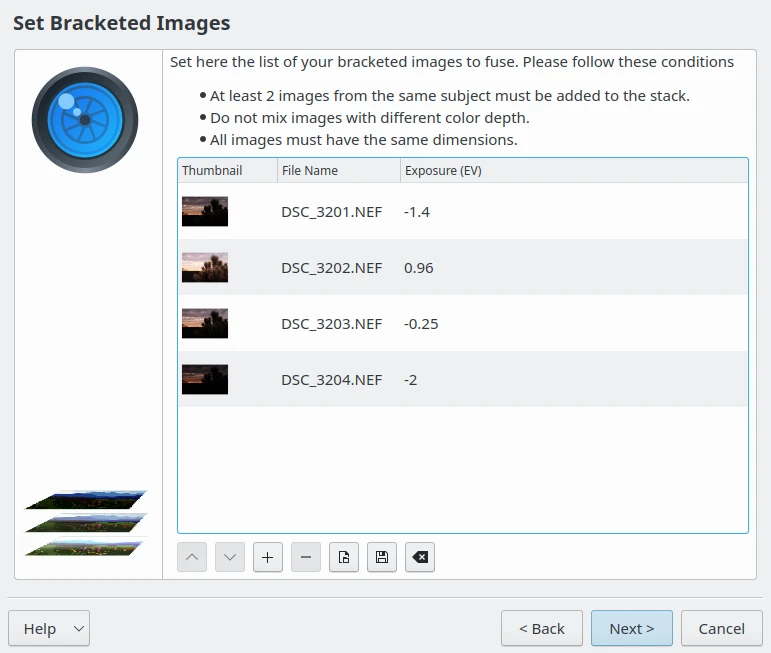
O Assistente de Mistura da Exposição com a Lista de Itens a Reunir
O digiKam pode alinhar as fotografias seleccionadas antes de as misturar. Esta funcionalidade poderá ser útil se tiver tirado as fotografias sem um tripé. Se for esse o caso, assinale a opção para Alinhar as imagens delimitadas, e carregue em Seguinte para iniciar o pré-processamento.
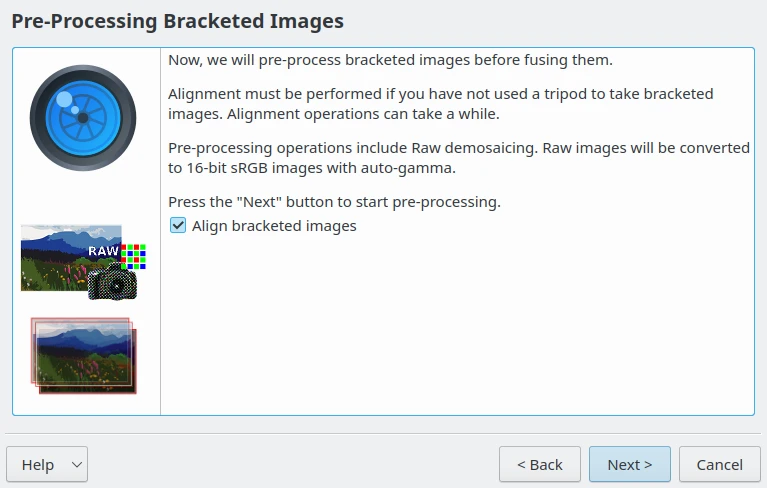
O Assistente de Mistura da Exposição na Etapa de Pré-Processamento
Once digiKam is done, press the Finish button, and you will be automatically dropped into the Exposure Blending Editor.
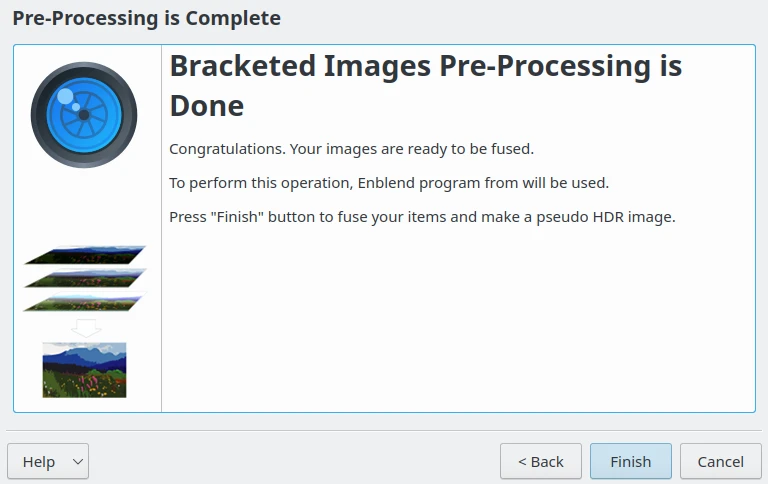
A Mistura da Exposição Pronta para Editar as Imagens Empilhadas
Hit the Preview button to see the blended photo in the preview pane. If you move the mouse over the preview canvas, a toolbar appears in the top left corner of the image to Zoom In, Zoom Out, and Zoom to Fit.
If you are not satisfied with the Preview result, you can tweak the available Enfuse Settings on the right side, where you will find the following options:
Balanceamento Automático das Características Locais/Globais da Imagem (Níveis): Configura a selecção automática dos níveis (maximizada) para a mistura em pirâmide, i.e., optimizar as características da imagem (contraste, saturação, …) para serem o mais globais possíveis.
Image Features Balance: Set the number of levels for pyramid blending. Balances towards local features (small number) or global features (high number). Additionally, a low number trades off quality of results for faster execution time and lower memory usage. This option is enabled only if Automatic Local/Global Image Features Balance (Levels) is disabled.
Hard Mask: Force hard blend masks without averaging on the finest scale. This is only useful for focus stacks with thin and high contrast features. It improves sharpness at the expense of increased noise.
Contribuição da Boa-Exposição: Define a contribuição do critério de boa-exposição para o processo de mistura. Os valores mais elevados irão favorecer os pixels bem-expostos.
Contribuição da Alta-Saturação: Se aumentar este valor, fará com que os pixels com maior saturação contribuam mais para o resultado final.
High-Contrast Contribution: Sets the relative weight of high-contrast pixels. Increasing this weight makes pixels with neighboring differently-colored pixels contribute more to the final output. Particularly useful for focus stacks.
Usar o Modelo de Aparência da Cor (CIECAM02): Usa a Modelação da Aparência da Cor (CIECAM02) para desenhar as cores com mais detalhe. Os seus ficheiros de entrada deverão ter perfis ICC incorporados. Se não estiver presente nenhum perfil ICC, será assumido o espaço de cores sRGB. A diferença entre usar esta opção e o algoritmo predefinido da mistura de cores é bastante subtil, e será mais notório quando precisar de juntar áreas com diferentes cores primárias em conjunto.
You can also exclude individual photos from the stack on the top right corner to improve the blending result. The clever part is that every time you tweak the settings and press the Preview button, digiKam generates a preview image stored on the bottom right corner which you can compare with the previous versions. You can then save all the generated versions, or save only the one you like most by selecting wanted preview. The output format to use at export stage can be set in Save Result settings. If the exported file already exists, it can be overwritten or not. A common template file name can be also configured for the exported files.
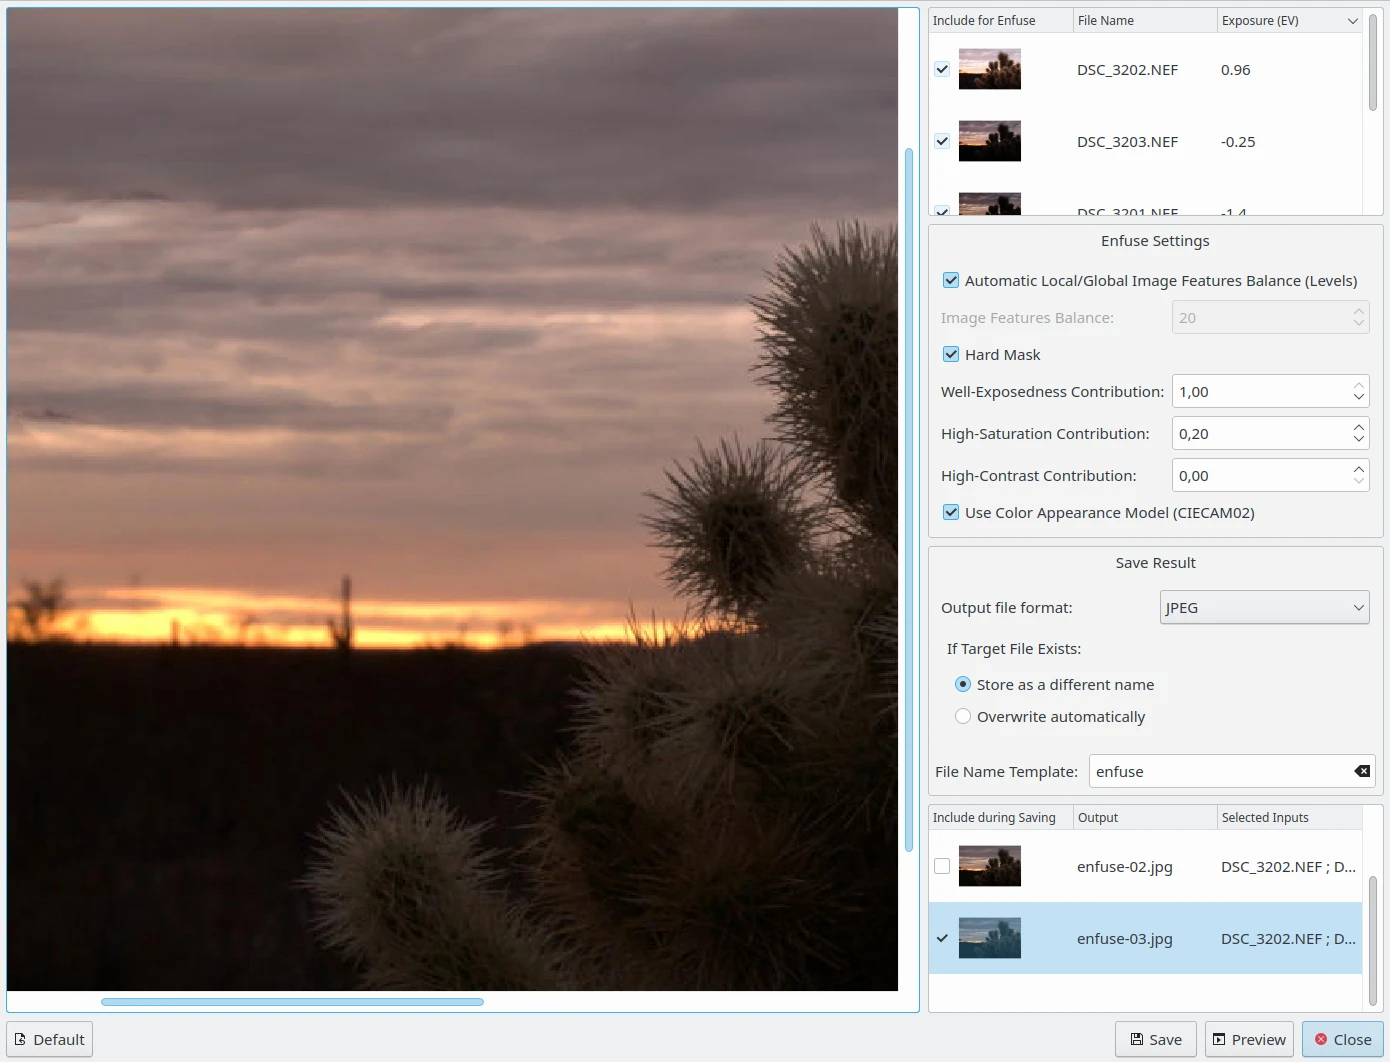
O Editor da Mistura da Exposição a Criar as Versões Fundidas
digiKam’s exposure blending tool is capable of producing rather impressive results, especially if you are not afraid of getting your hands dirty by manually tweaking the final results.
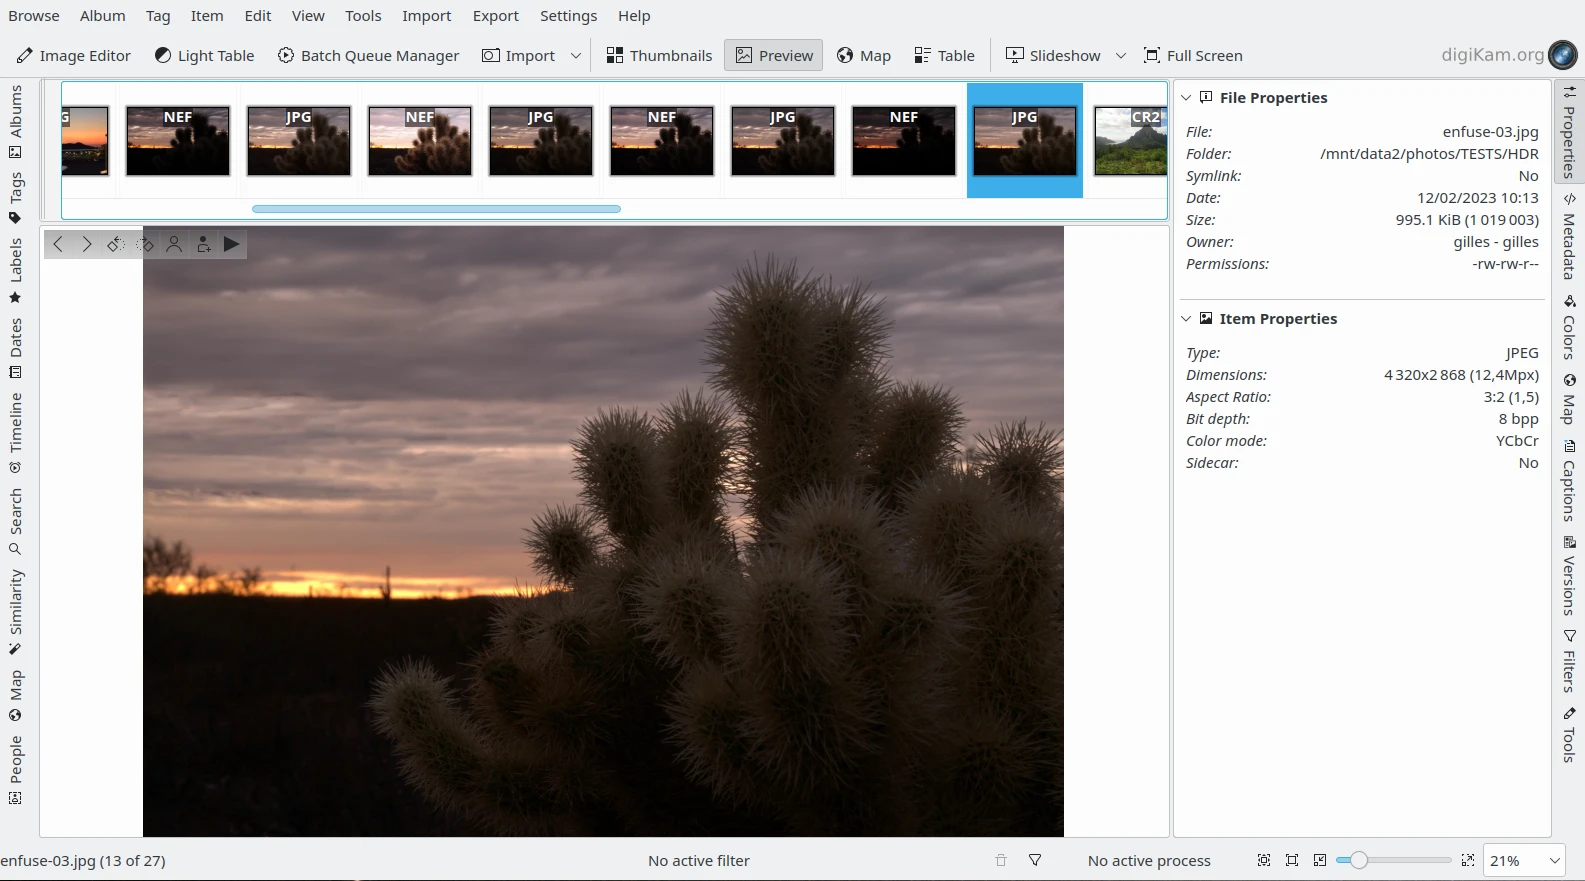
Os ficheiros NEF Fundidos, Exportados como JPEG e Apresentados no digiKam