Send Images
The Send Images tool can be used to send images directly by e-mail.
With this tool you can e-mail the selected images with your favorite e-mail agent. You can resize images, and you can even use drag and drop to add more images to the list of images to send.
When opening the tool from the application, the Email Images Options dialog will appear listing the e-mail agent applications detected on your system. You can also select the items to send from the Images list or Albums collection.
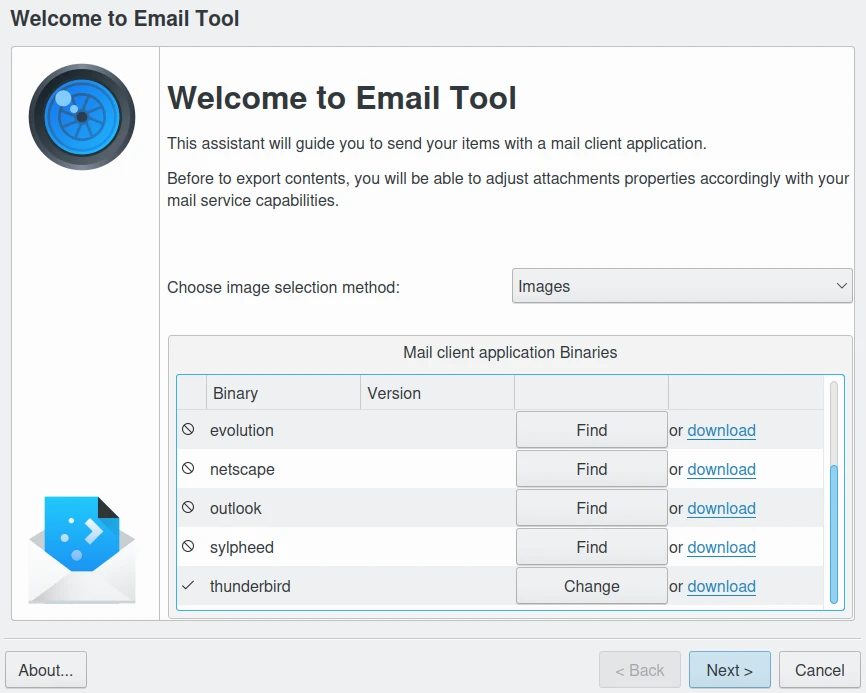
The Send Images E-mail Client Detection and Contents Selection
The Images list mode will open with any pre-selected items from digiKam already in the items to export list.
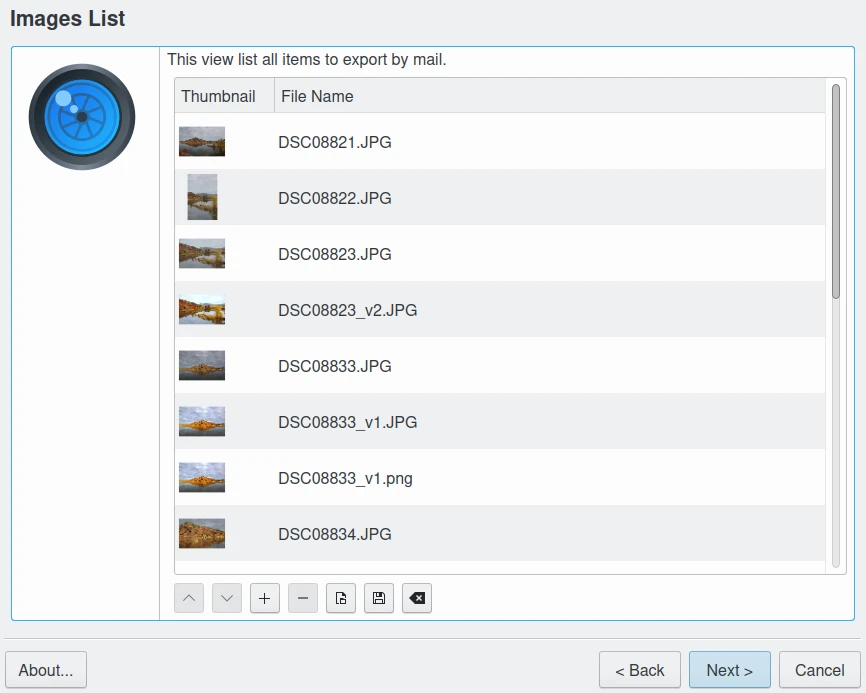
The Send Images Tool and Selected List of Items
Below the image list there are seven buttons. The two left buttons ![]() are used to move a selected image in the list up or down. The next two buttons
are used to move a selected image in the list up or down. The next two buttons ![]() are used to add or delete items from the list. The next button
are used to add or delete items from the list. The next button ![]() opens a file browser to add more files as needed in the usual file selection manner. The
opens a file browser to add more files as needed in the usual file selection manner. The ![]() button clears the list.
button clears the list.
Astuce
You can drag and drop images between the host application window and the image file list to add new items to e-mail.
Avertissement
Be sure not to overload your own or your addressees e-mail transmission limit; most providers limit the e-mail size to some megabytes of data. Use several e-mails if you want to send a lot of data.
The next page is used to change the settings of the images to be sent. These settings will be remembered when you close the tool until you change them.
Select your favorite Mail Program from the drop-down menu.
If you select Attach a file with image properties from Application the comments, rating, or tags included with the images will be merged to a text file and attached in the mail.
The next three items allow you to set-up the image properties to be sent. To enable these options check Adjust image properties. First select an Image size suitable for your Internet connection speed and the target mailbox size.
The PNG file format in the Image format drop-down menu is not the best format to reduce image file size, but is well suited for compressing lossless items like the TIFF file format. PNG must be used if you use dial-up speed Internet and you want to preserve the photo quality. Otherwise, JPEG is the recommended format.
The Image quality can be chosen with the input box. 75% is the standard compression ratio for JPEG files. Setting compression to 100% will result in lossless compression at the cost of the largest file size. The difference in file size between 90% and 100% can be quite dramatic, whereas the gain in quality is minor. Very good quality is already obtained with 85% compression.
Note
If you choose JPEG as the Image file format and the original files were in JPEG format, the original Exif data included is preserved in e-mailed images.
If you want to drop metadata, turn on Remove all metadata option.
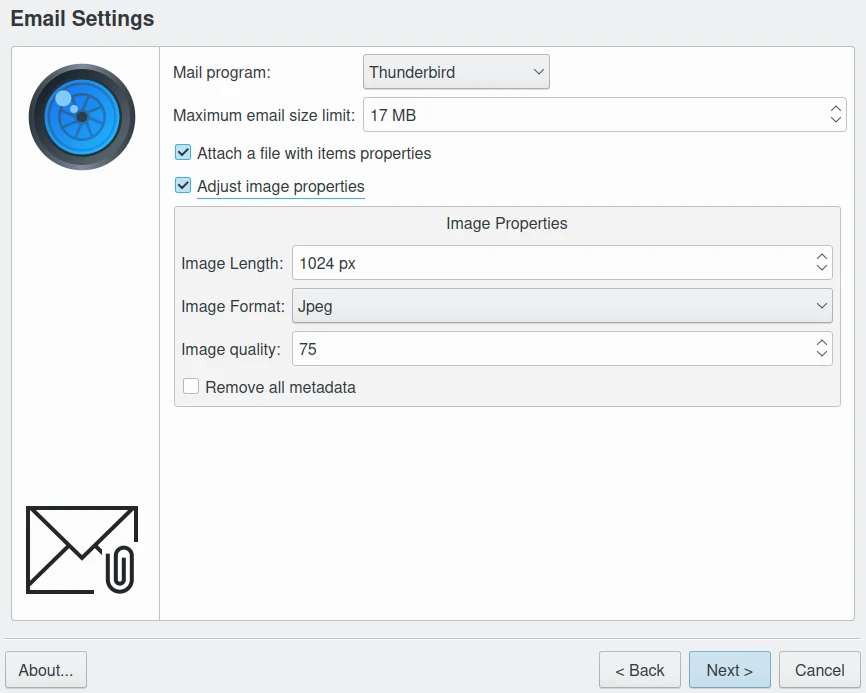
The Send Images Tool Mail Program Selection and Attachment Properties
The next page will show a progress dialog giving feedback on the progress of preparing items before e-mailing. Press the Cancel button if you want to abort the process during this stage.
When all jobs are completed, this dialog will not close automatically and you can consult the progress messages if any errors occurred during this stage. The mail agent will be started automatically at the end.
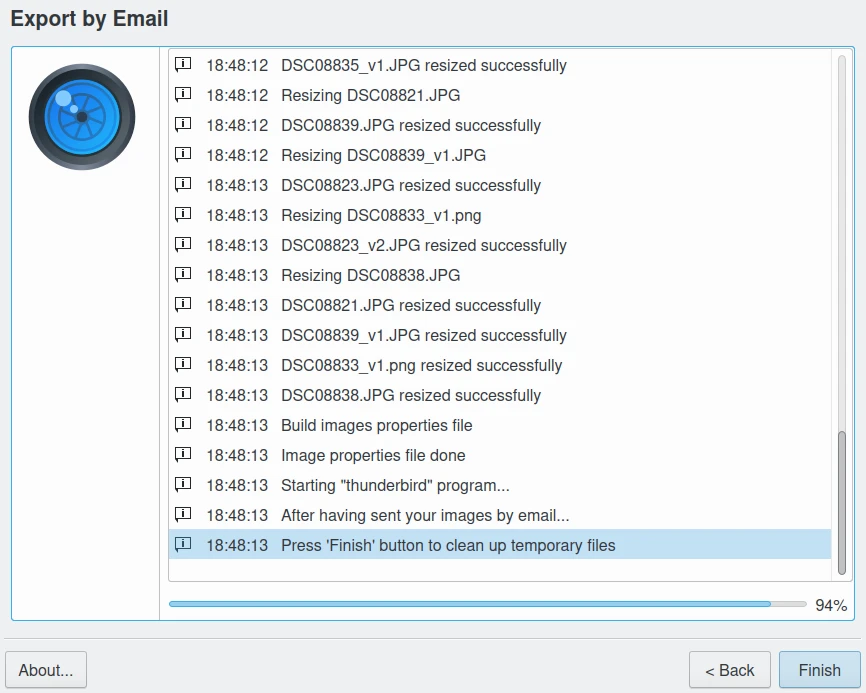
The Send Images Tool Post Processing Items to Send by Mail
The composer window will be open with your favorite e-mail client. You just need to add the addressee and the subject. The selected images will be already be listed as attachments.
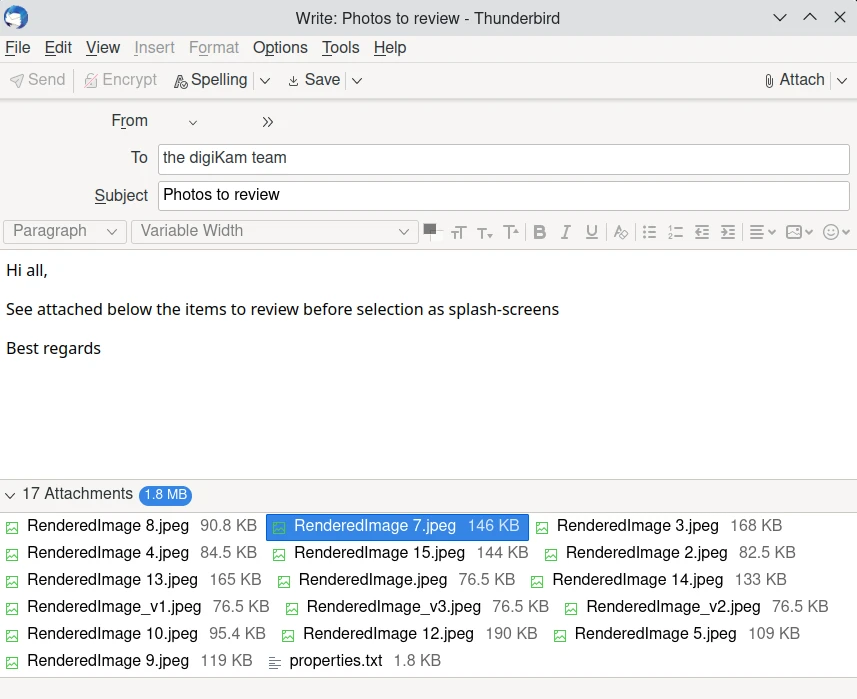
The Items Post Processed and Ready to Send with Thunderbird Mail Agent
When email is sent, you can Close the progress dialog to purge all temporary files.