Overview
Comparing Two RAW Files Side by Side in the Light Table
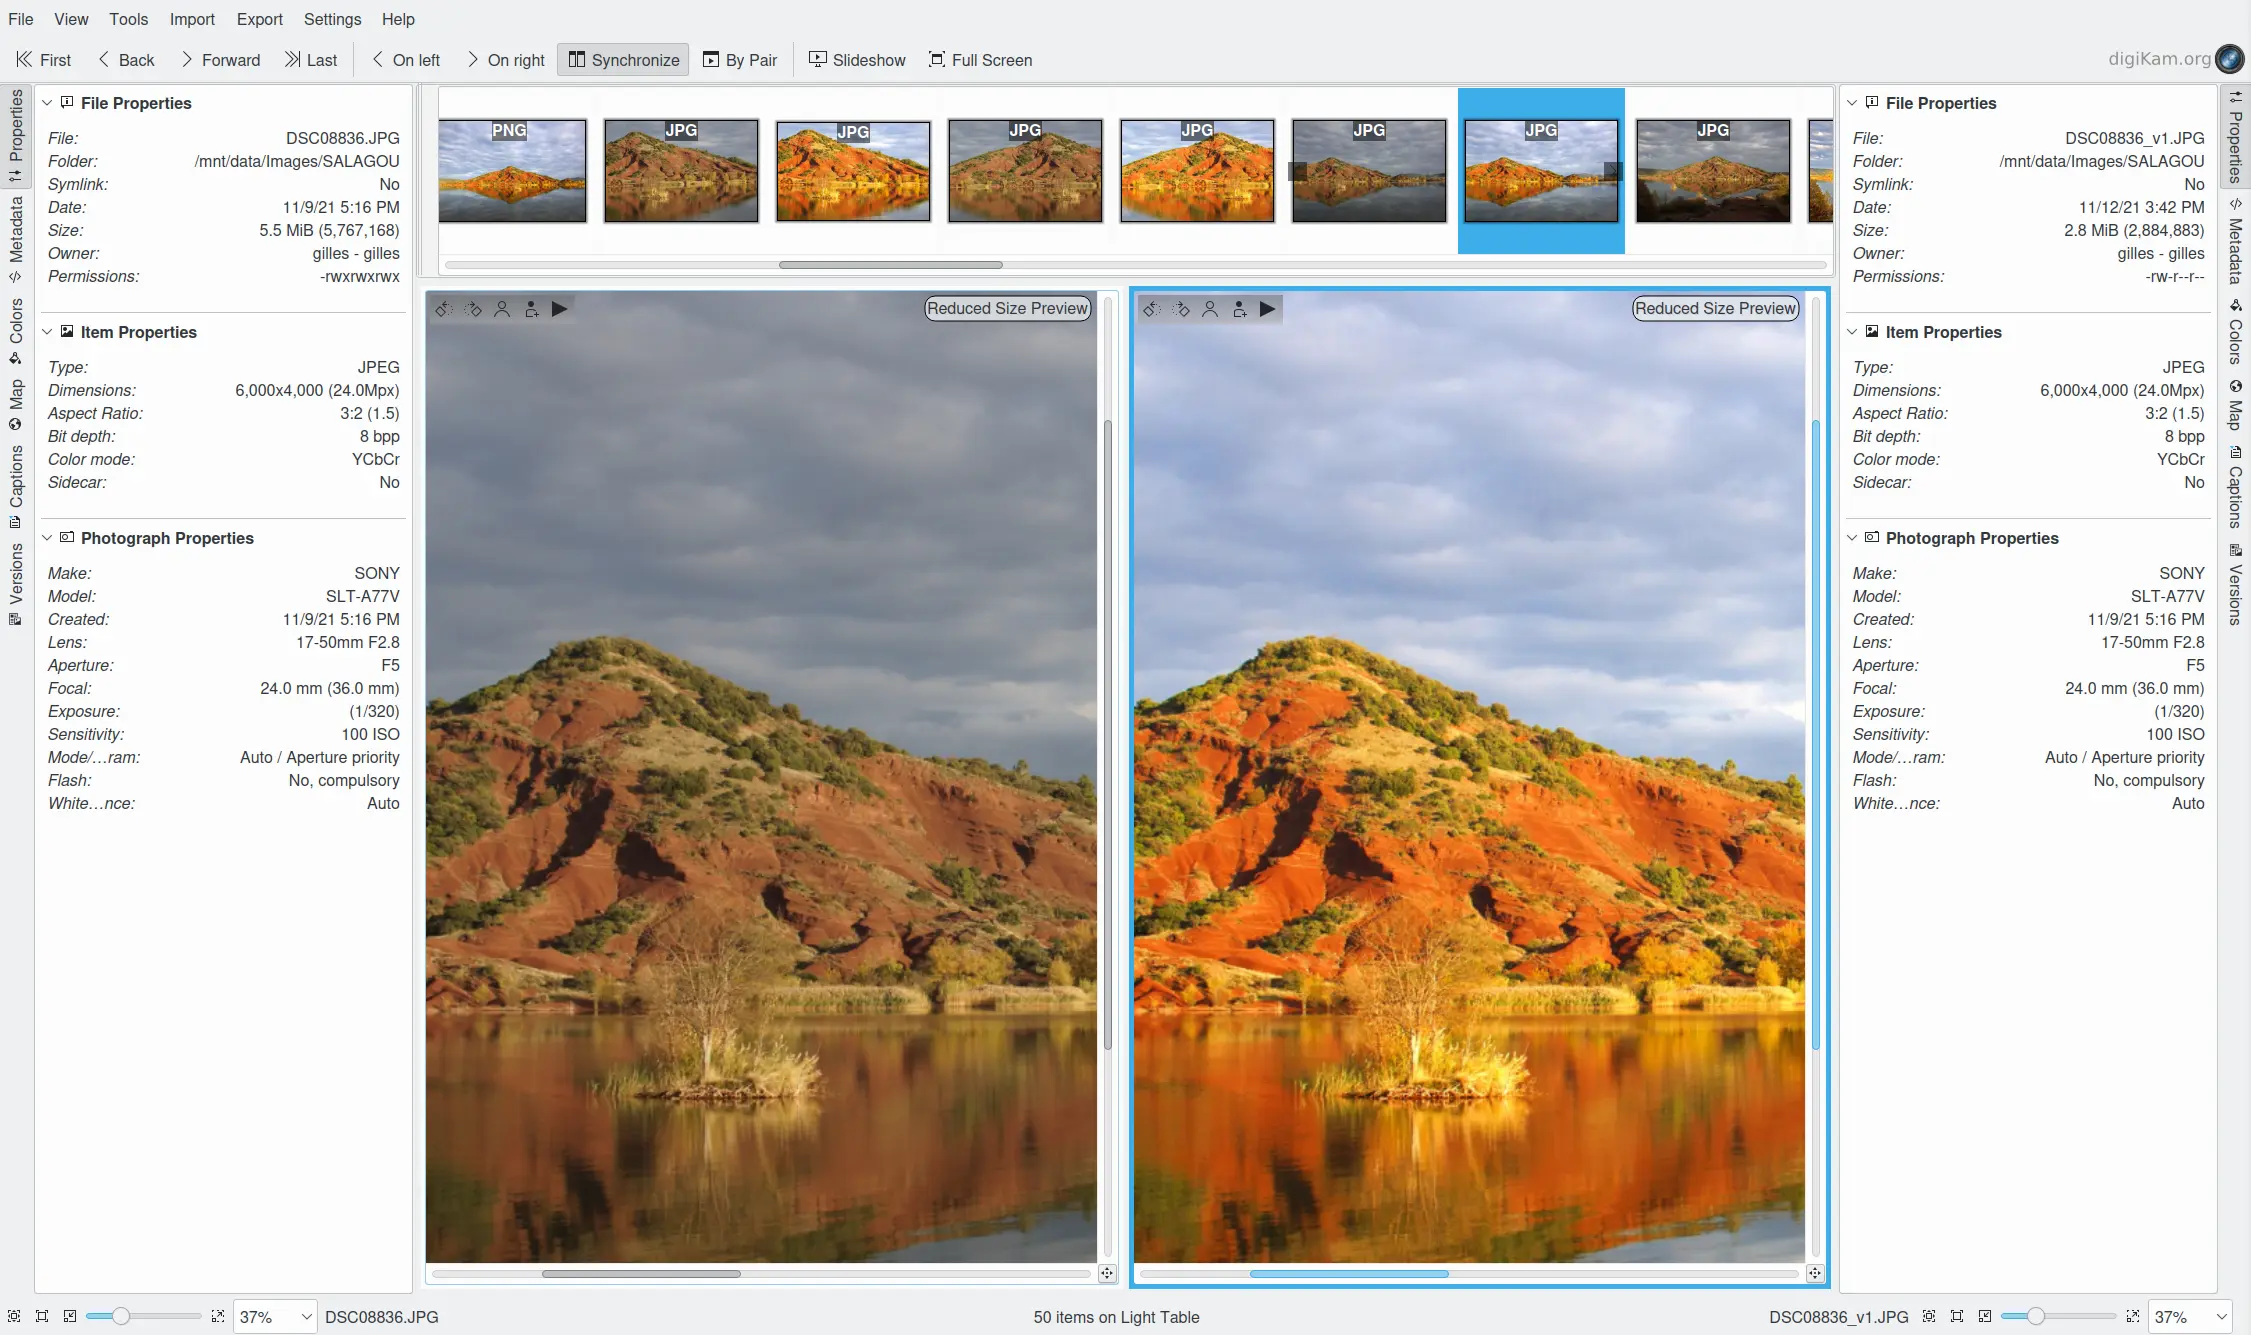
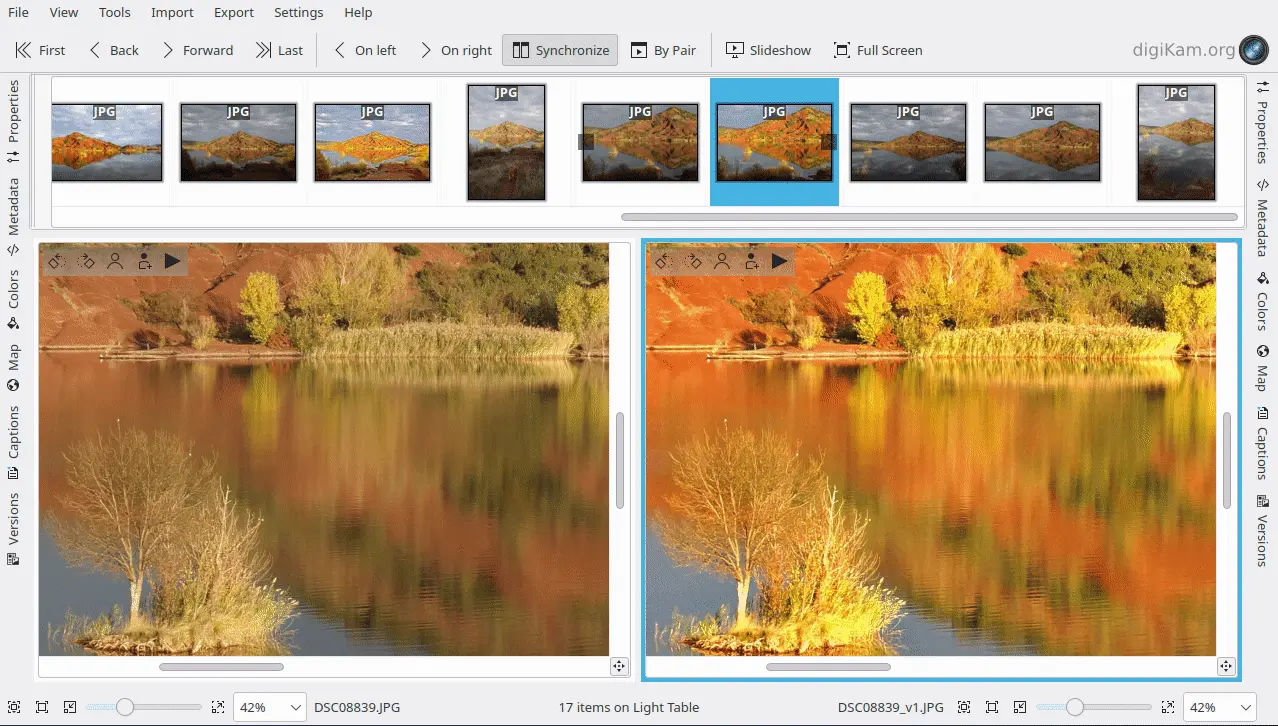
digiKam's Light Table feature works in a separate window to easily compare images. It works with all supported image formats including RAW files.
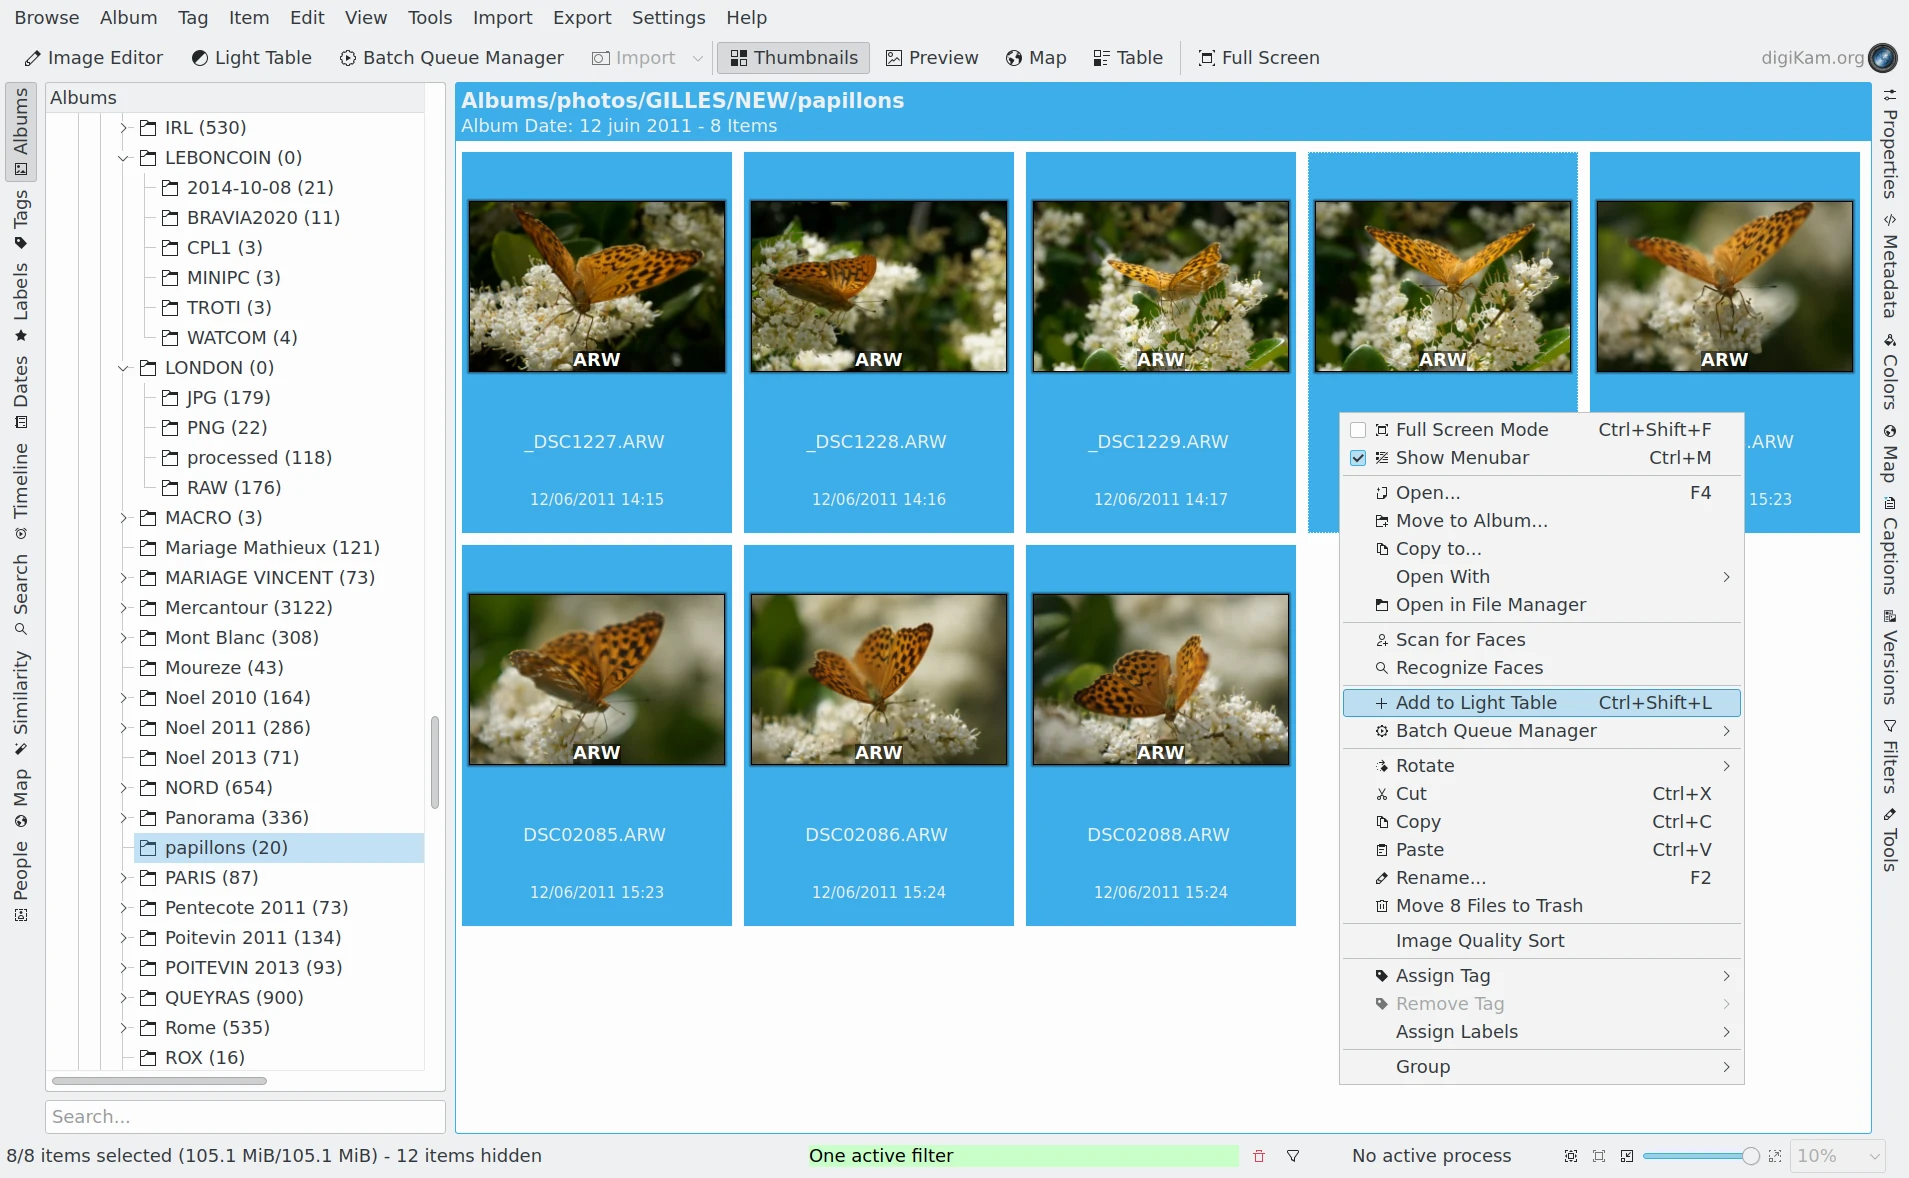
The Main Icon-View Context Menu Used to Add Items to the Light Table
To use the Light Table you must first select a set of images to examine with Light Table. Select one or several images in any view from the main window, then select CTRL+L to place the selected images on the Light Table and open the Light Table window. Selecting CTRL+SHIFT+L will add the selected images to the images that are already on the Light Table. You can also select Add to Light Table from the context menu for the selected images.
You can quickly access the Light Table from the digiKam main window using SHIFT+L or by clicking the Light Table button in the Main Toolbar.
Screencast of the digiKam Light Table Item Selection from the Thumbbar